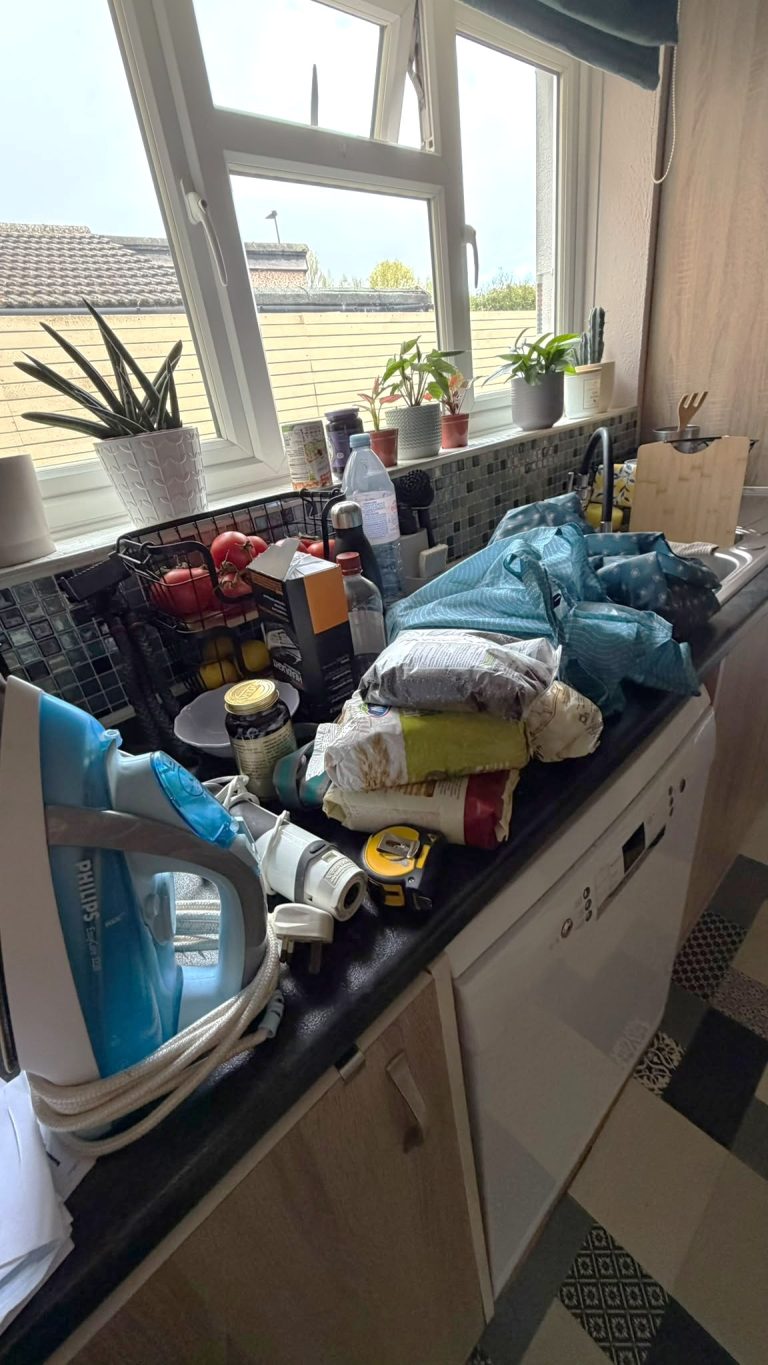
Let’s be honest – under the sink is one of those spaces that’s too easy to ignore. It’s awkwardly shaped, full of pipes, and somehow always ends up stuffed with half-used cleaning sprays, spare sponges, and things you didn’t even know you owned.
Ready to take action in just 5 steps?
Don’t let the overwhelm stop you before you’ve even started.
Grab my free 5-Step Quick Declutter Checklist and make progress in minutes – even if your home feels like a mess right now.
But here’s the thing – that little cupboard can work really hard for you once it’s organized properly. Whether it’s in the kitchen or bathroom, a well-set-up under-sink space saves you time, stress, and even money (no more buying doubles of things you already had!).
Watch this little video to see how to organise your under the sink storage.
In this guide, I’ll walk you through exactly how to declutter, organize and maintain your under-sink area step by step – with simple, practical tips that actually work in busy homes.
Why Does Under the Sink Get So Messy?
You’re not imagining it – under-sink cupboards are genuinely tricky. They’re usually:
- Dark and deep (things get lost at the back)
- Full of pipework that limits space
- A dumping ground for “I’ll deal with it later” items
- Lacking proper shelving or structure
It’s no wonder it feels chaotic! But that’s also why a good system makes such a big difference.

Step 1: Take Everything Out
Start by completely clearing the cupboard. Yes, everything. You need to see what’s really in there (and it’s often more than you thought).
Lay it all out on the floor or counter so you can sort through it properly.
Step 2: Declutter Ruthlessly
Now go through each item and ask:
- Do I actually use this?
- Is it still in date or in good condition?
- Do I need this many duplicates?
- Could it live somewhere better?
Be especially honest with cleaning products – it’s so easy to end up with five half-empty bottles of the same spray.
Anything out of date, leaking, or that you never use? Recycle the bottle if you can or dispose of it safely.
Step 3: Clean the Space
Before putting anything back, give the cupboard a good clean. Wipe down the inside, check for damp, and give the pipes a quick once-over for any slow leaks.
Tip: Lining the bottom of the cupboard with a wipeable mat or vinyl liner makes future spills much easier to clean up.

Step 4: Categorise What’s Left
Now you’ve got your essentials, group them into categories like:
- Daily cleaning sprays
- Refills and backups
- Dishwasher items (tablets, rinse aid)
- Rubber gloves, sponges, cloths
- Bin bags
- Bathroom products (for bathroom sink areas)
This makes it much easier to see how much space each group needs – and how best to store it.
Step 5: Choose the Right Storage
This is where most people go wrong – they try to squeeze containers in without measuring or thinking about how they’ll actually use them.
Before buying anything, measure your space – height, width, depth, and note where the pipes are. Then consider:
Best Under Sink Storage Ideas:
- Stackable drawers or shelves
Great for creating layers in tall cupboards. Look for ones that pull out so you don’t have to reach to the back. - Adjustable under-sink organisers
These work around pipes and give structure to awkward spaces. - Clear plastic bins or baskets
Perfect for grouping similar items. Choose ones with handles so you can easily pull them out. - Tension rods
Hang spray bottles on a rod across the top of the cupboard – clever and space-saving. - Hooks or small adhesive containers on the door
For gloves, cloths, or sponges – great use of vertical space. - Turntables (lazy Susans)
Ideal for hard-to-reach corners, especially under bathroom sinks.
Remember: You don’t need fancy matching containers. It’s about function, not perfection. But do choose things that make your life easier.
Step 6: Put Things Back in a Way That Works
Now it’s time to re-load your space. Put your most-used items at the front and backups or occasional-use bits towards the back or in drawers.
Label bins if it helps (especially in shared homes where others might not know your system yet).
Think about ease. You don’t want to be pulling out five things just to grab the bin bags.
Step 7: Maintenance Made Simple
Once you’ve got your system in place, the key is keeping it up. Here’s how to stop it falling back into chaos:
- Do a quick 1-minute tidy once a week
(while the kettle’s boiling is a good time) - Only buy refills when you need them
Avoid overbuying just because something’s on offer - Stick to your categories
If something new goes in, decide what category it belongs to – or if it belongs there at all - Review every season
Just like you rotate wardrobes, a quick seasonal check keeps things fresh and working for you
What to Store Under the Sink (and What Not to)
Good things to store:
- Daily cleaning sprays
- Washing up liquid and sponges
- Dish tablets or soap refills
- Rubber gloves
- Bin liners
- Small tools or household bits (if you don’t have a better home for them)
What to avoid:
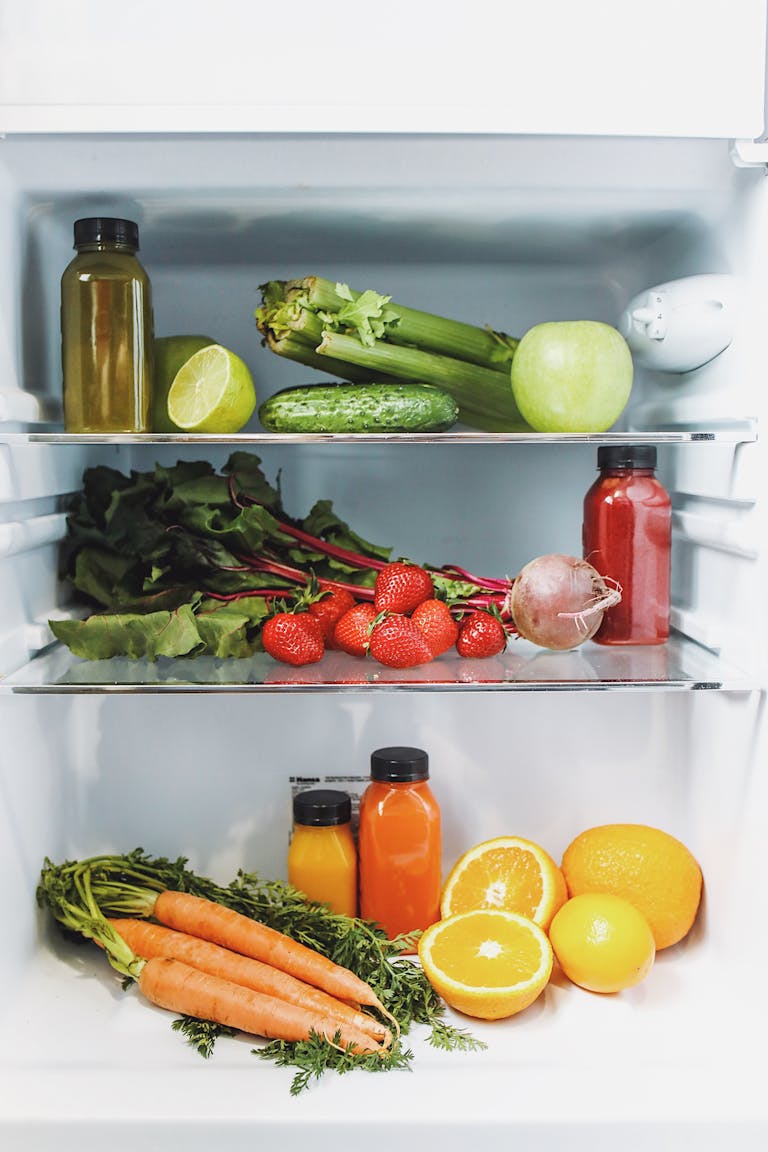
- Food (unless fully sealed and very short-term)
- Paper products (they absorb moisture and can go mouldy)
- Anything valuable or prone to damage from leaks
- Electronics (yep – it’s happened!)
Quick Fix for Small Spaces
If your cupboard is really tight, go vertical. Stack, use the back of the doors, hang things, or use slim pull-out trays that make the most of shallow depth.
Sometimes you only need 1–2 clever solutions to make it feel 10x more spacious.
Final Thoughts
Organizing under the sink doesn’t have to be overwhelming. With a bit of decluttering, some smart storage, and a simple routine, it can go from chaotic to calm in under an hour.
And once you’ve done it – you’ll feel it every time you open that cupboard. No more digging around, no more duplicates, and definitely less stress.